

Step 1: Hover over the EasyConnect section and click on Create Absence. Select if a Replacement is required (Yes/No).
Step 2: Select your First Contact by typing the replacement employee’s first or last name, then select the correct person from the drop-down list.
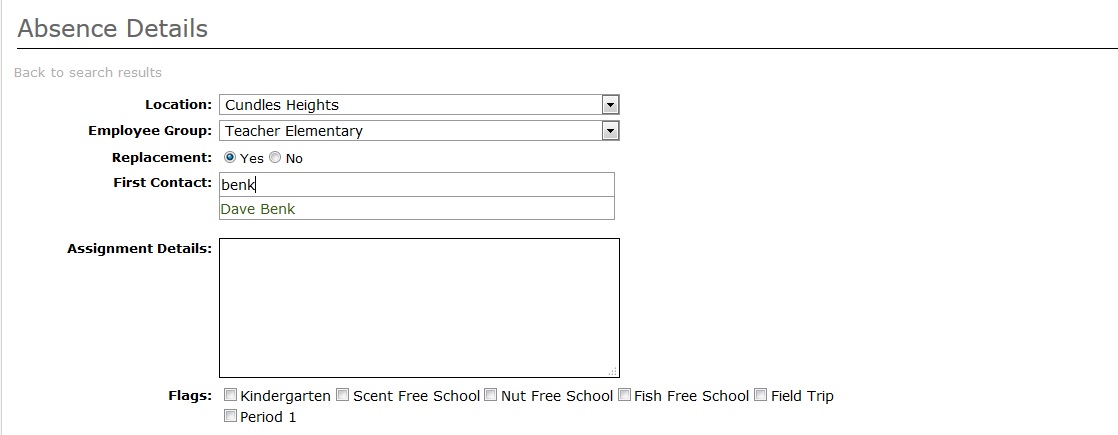
Optional: Add Assignment Details, indicate flags, or click on Select File to upload a lesson plan.
Step 3: Enter your Absence Date and Time. If entering a multi-day absence for the same reason and the same start and end times, select Add Days.
Step 4: Select the Assignment and Reason for absence from the drop down.
Optional: Enter Additional Info or a Release Code.
Step 5: Click OK and a replacement record will be created that can be edited.
Optional: If entering multiple reasons, times or subjects for your absence, click Add Absent Time.
Step 6: When you are done, click Save. The absence will be listed in the My Absences page of the EasyConnect section. You will also receive a confirmation email that your absence has been successfully created.
